
Saturday 8 August 2026 · The garden
Starting tomatoes indoors
Melbourne's last frost is still weeks away, but tomato season starts now, on a warm shelf indoors. From the first bent seedling to trays hardening off on the deck, here's the whole run.
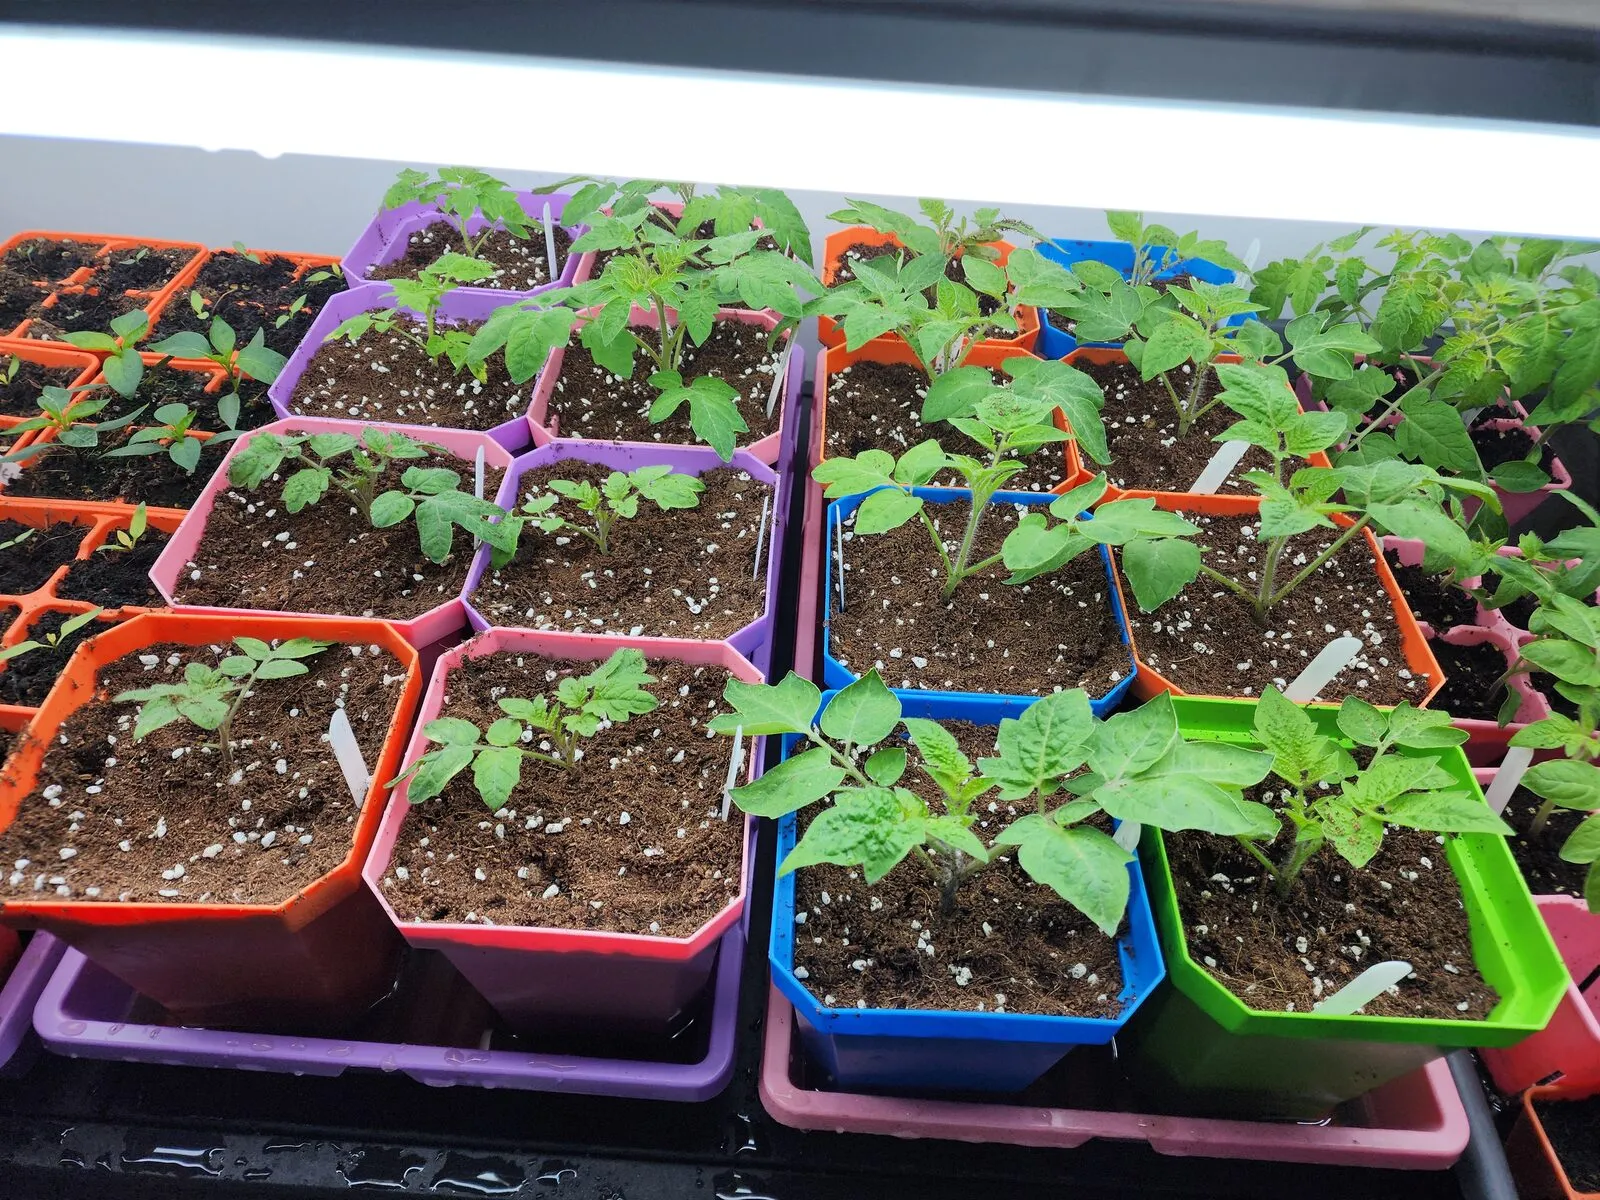
If you wait until the shops have tomato seedlings, you’re already late. Melbourne’s safe planting-out window doesn’t really open until the Cup weekend, but a tomato needs eight to ten weeks between sowing and going in the ground, which means the work starts in the middle of winter, indoors, on a shelf.
Here’s a full run from last season, sown in early August and out on the deck by late September.
Week 0: sowing
Tomato seed is not fussy. It wants three things: a fine seed-raising mix, moisture, and warmth. Warmth is the one most people get wrong. Below about 18°C germination crawls; at 22–25°C you’ll see movement in five or six days.
Sow about 5 mm deep, roughly the depth of the seed itself twice over, then firm the mix down gently, water from below, and cover the tray to hold humidity. Then leave them alone. The most common way to lose a tray of tomatoes is to keep poking at it.
Label as you go. Every tomato seedling looks identical for the first month, and you will not remember which row was the Black Krim.
Week 1: germination
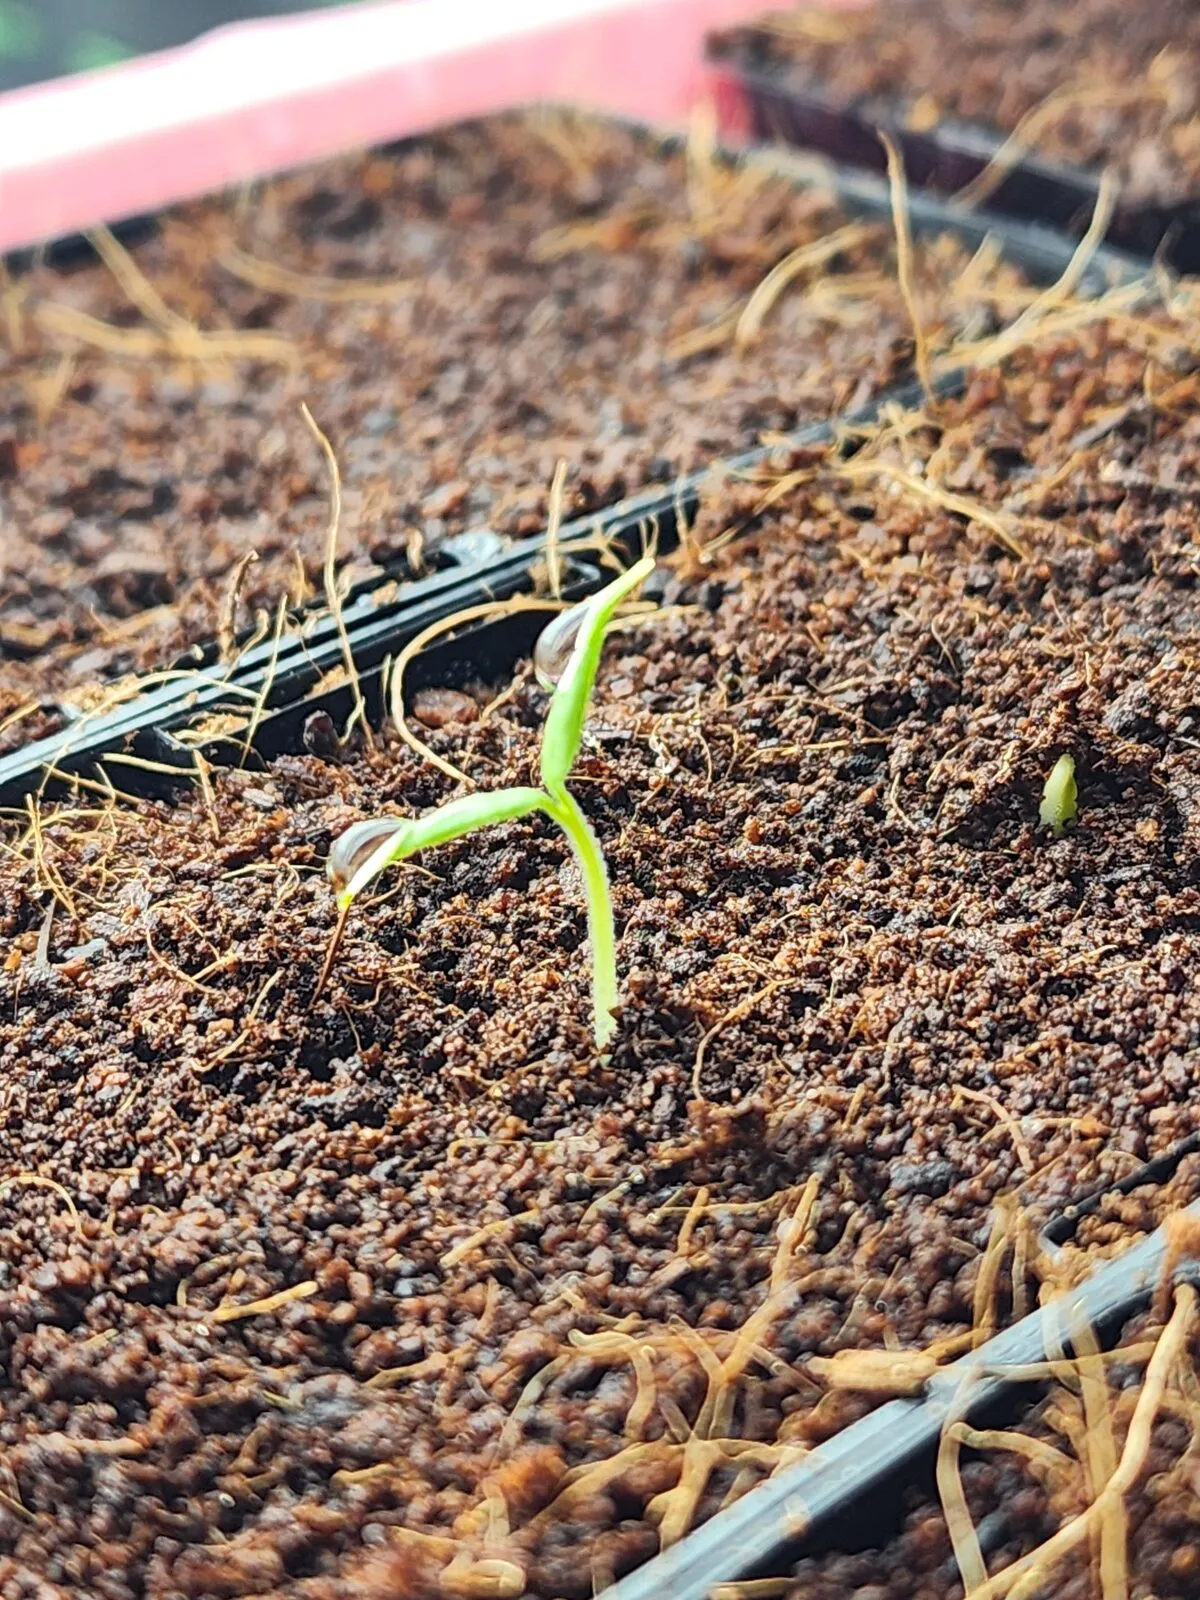
Day six. The stem comes up bent like a hairpin and drags the seed coat with it.
That hooked shape is normal: the seedling pushes its back through the surface first to protect the growing tip, then straightens up over a day or so. The papery cap still stuck to the tip is the old seed coat. It almost always falls away on its own; pulling it off usually takes the seed leaves with it.
As soon as the first ones are up, get the cover off and get them under strong light. This is the moment things go wrong. A warm, dim windowsill produces long pale stems that never recover.
Week 2: cotyledons
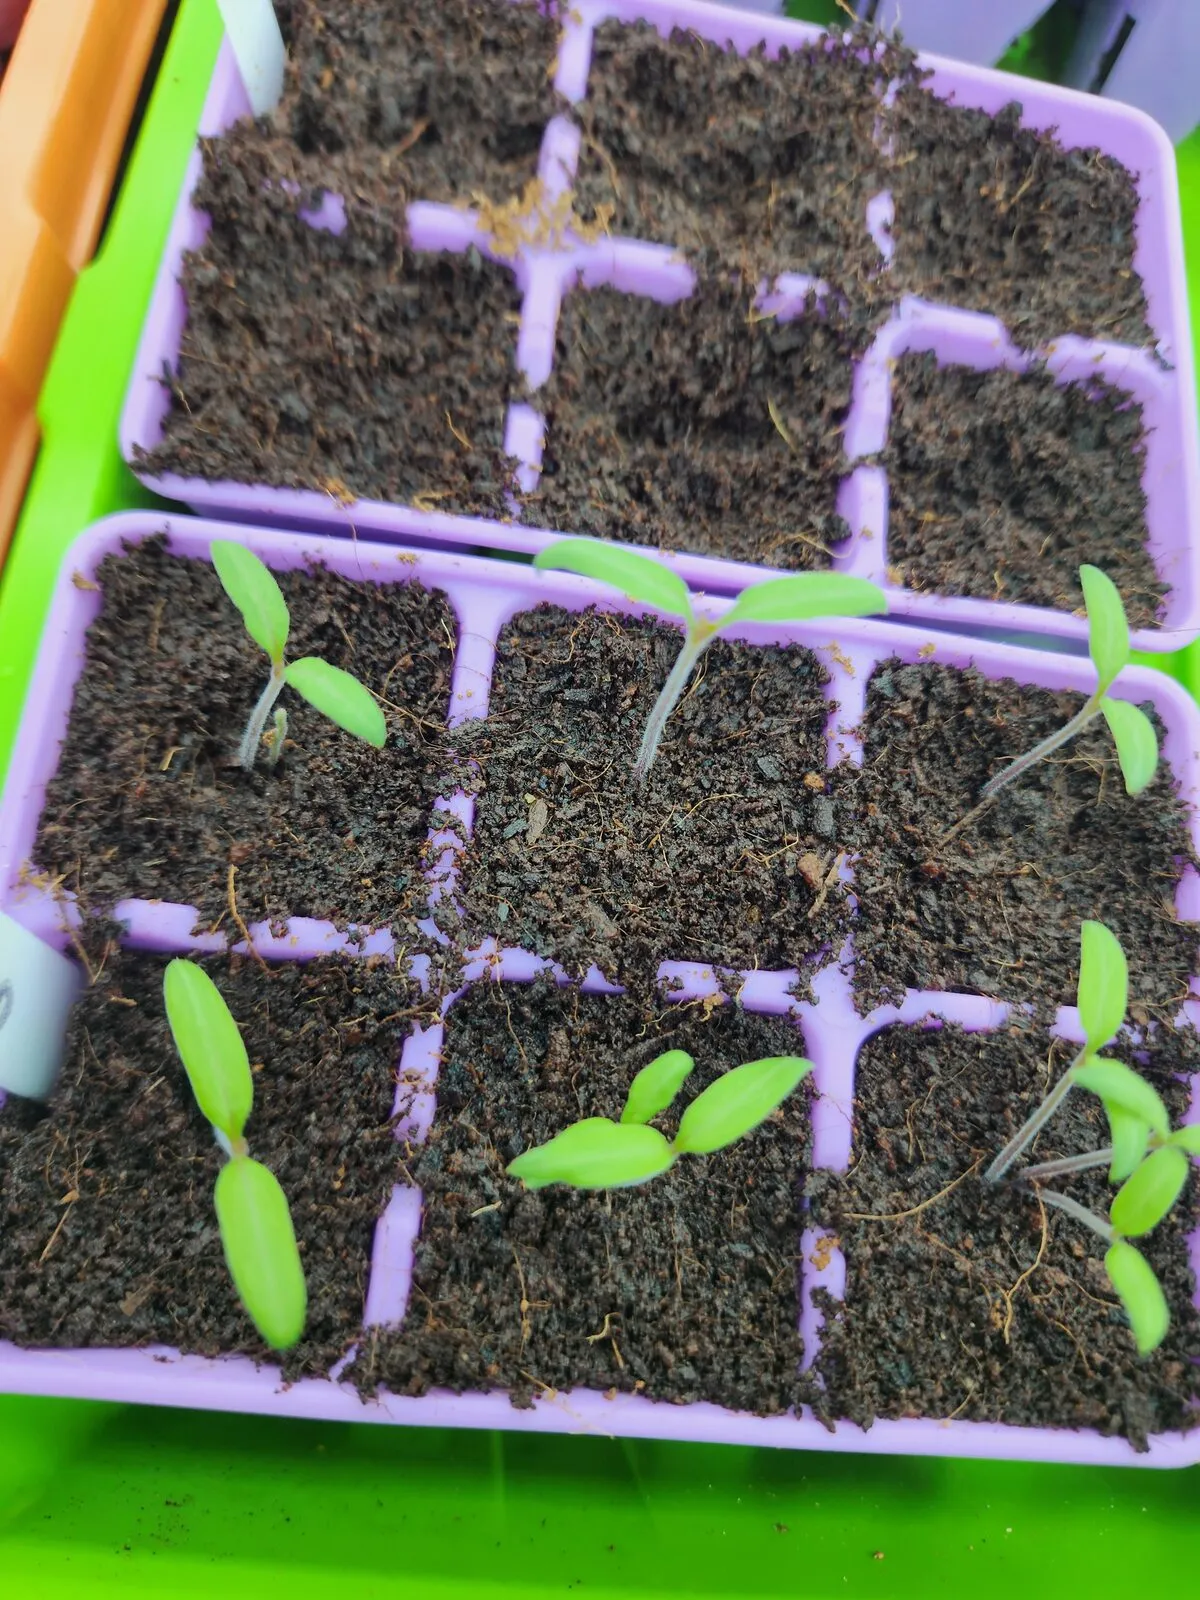
Two weeks in. The first pair of leaves, the cotyledons, are smooth and strap-shaped, nothing like a tomato leaf.
These aren’t true leaves; they’re the seed’s packed lunch. The plant lives off them while it builds a root system. Note the gaps in the tray: germination is never a hundred per cent, which is why we sow more cells than we need.
Water sparingly and from below. At this size, damping-off, a fungal collapse right at soil level, is the main risk, and it’s driven by wet, still, stagnant air. Airflow helps; a small fan on low for a few hours a day is worth more than any spray.
Week 5: under lights
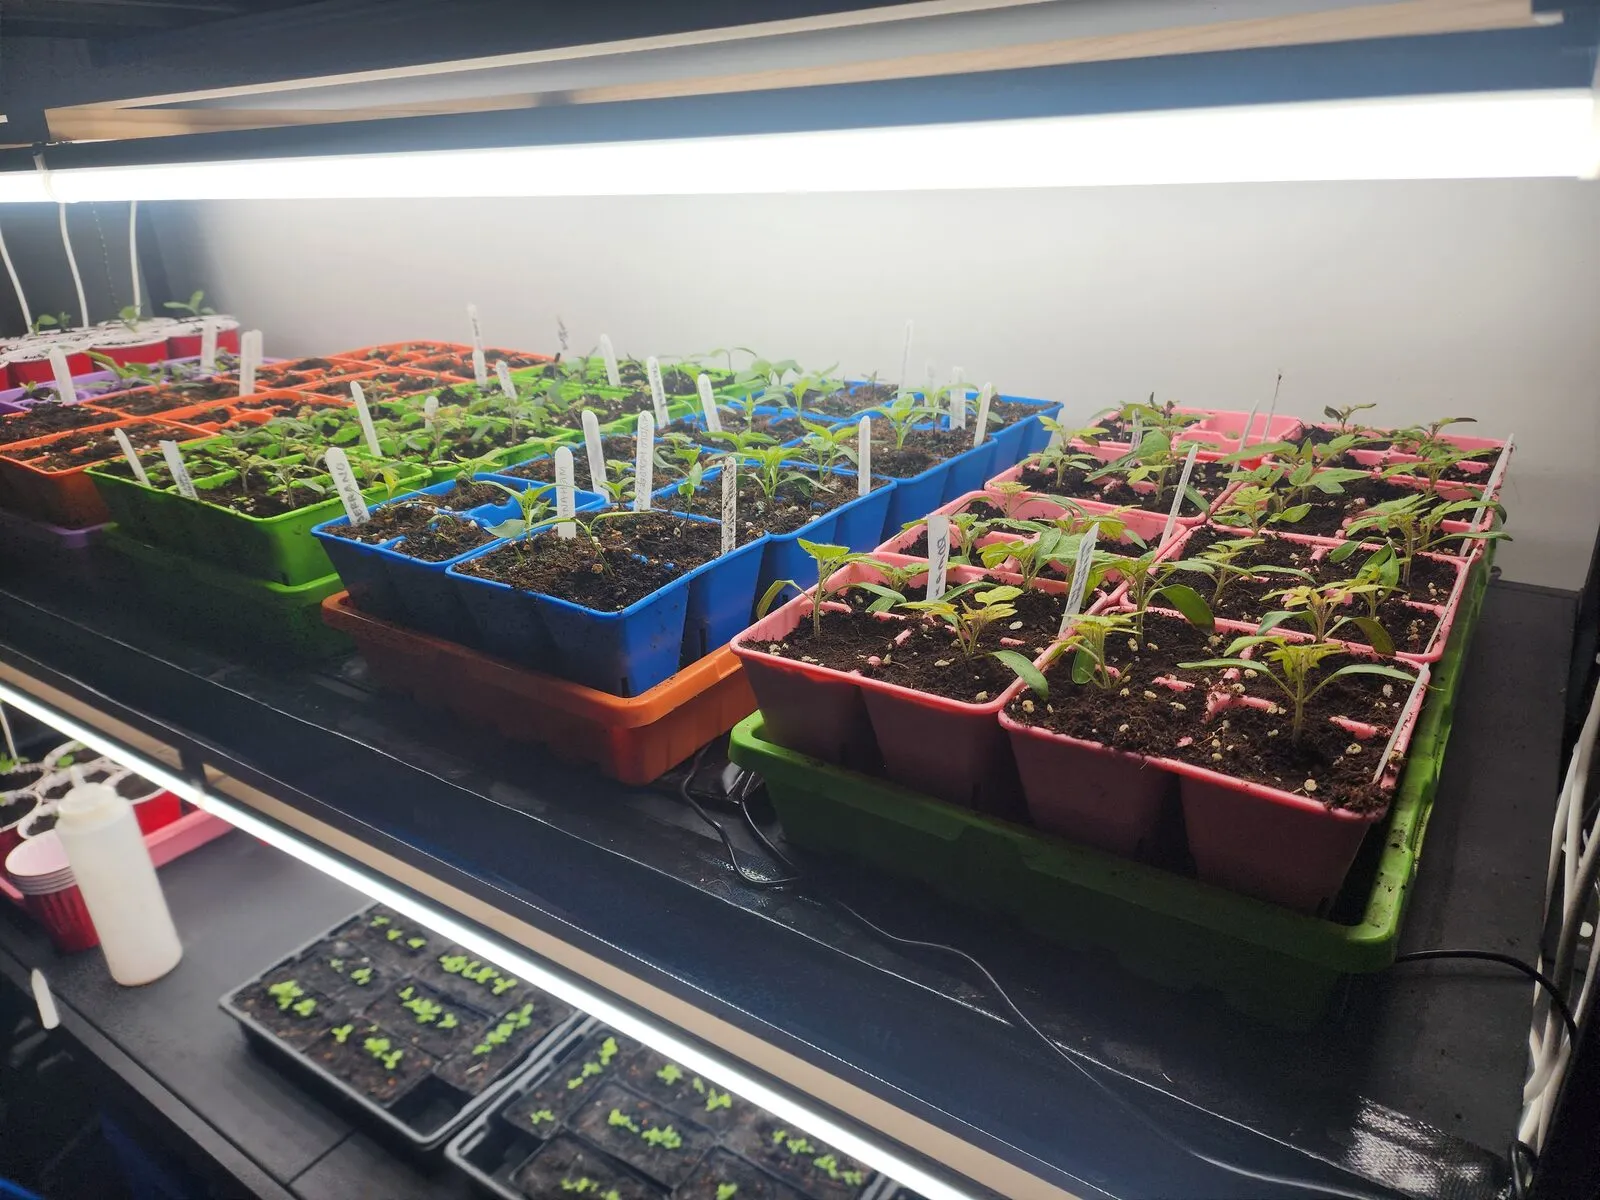
Five weeks. The whole shelf: tomatoes, capsicums, chillies and a tray of lettuce down the bottom.
Nothing exotic on the rack: ordinary shop lights on a timer, 14 to 16 hours a day, sitting just a few centimetres above the leaves and raised as the plants grow. Close is the point. Light intensity falls off fast with distance, and a lamp half a metre up is doing far less than it looks like it’s doing.
By now the true leaves are through: lobed, hairy, and unmistakably tomato-scented if you brush them. Give the plants a weak liquid feed at about a quarter strength once true leaves appear. The seed-raising mix has almost no nutrition in it by design.
Week 6: filling out
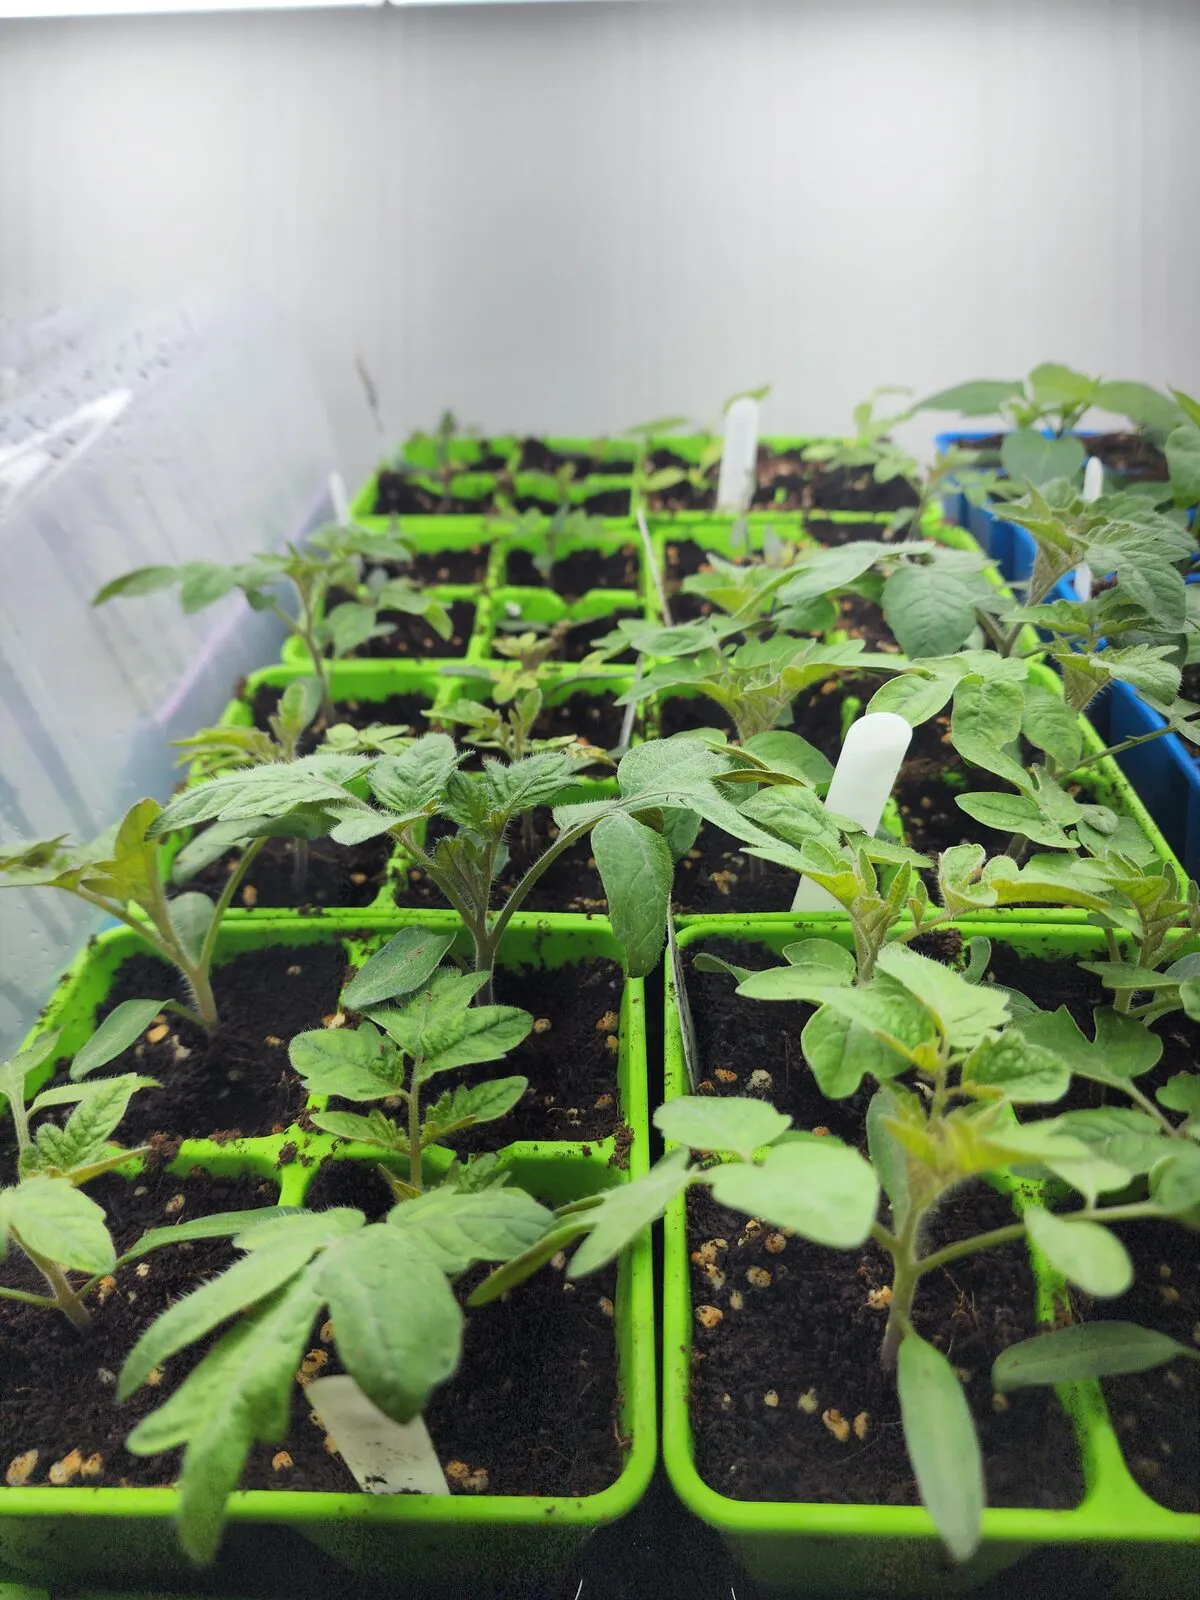
Six weeks. Three or four sets of true leaves, and the cells are clearly running out of room.
When the leaves of neighbouring plants start touching, roots are running out of room too. Time to pot on.
Week 7: potting on
Potted on into individual pots, one plant each, buried deep.
Move each seedling into its own pot, holding it by a leaf rather than the stem. A crushed leaf costs you a leaf, a crushed stem costs you the plant.
Then the trick that makes tomatoes different from almost everything else you’ll grow: plant them deeper than they were. Bury the stem right up to the lowest leaves. Those fine hairs along the stem all turn into roots underground, and you end up with a stockier plant on a much bigger root system. If a seedling has gone a bit leggy, this is the fix.
Switch to a proper potting mix at this stage, keep them under the lights, and feed at half strength.
Weeks 8–10: hardening off
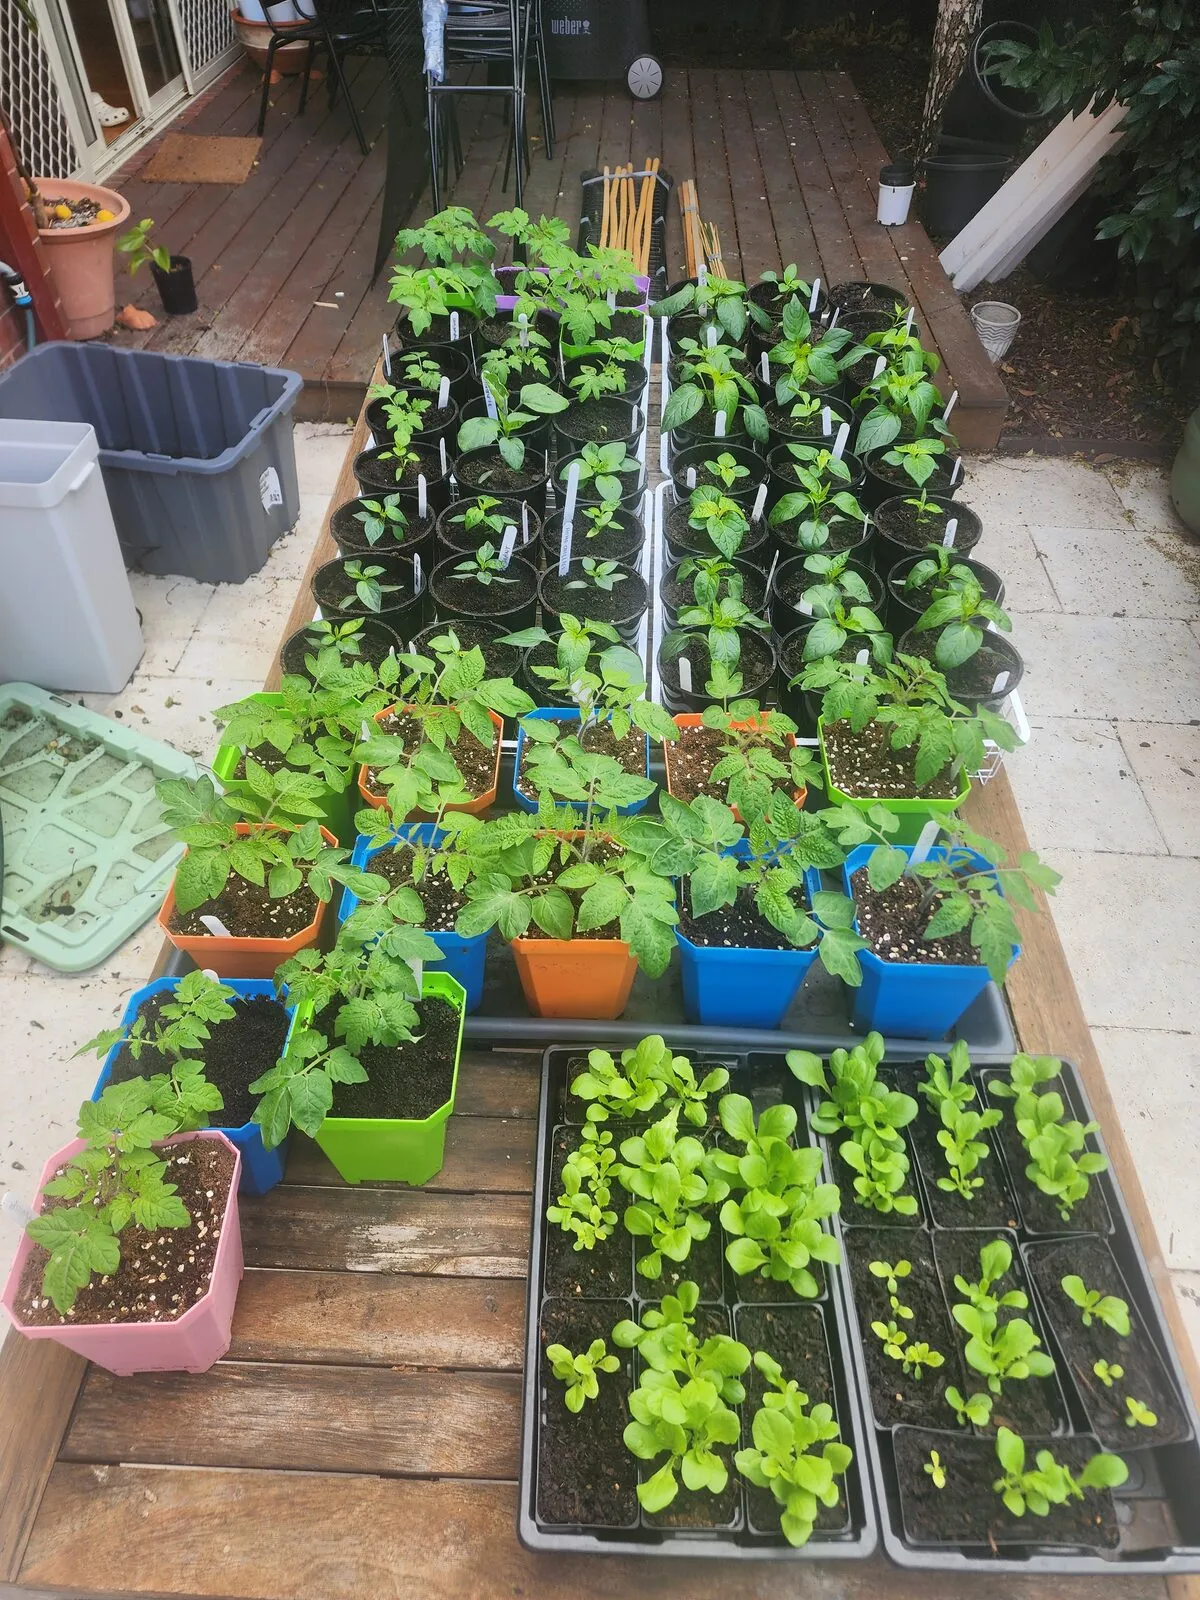
Out on the deck. Sheltered, part shade to start, and back inside before dusk.
This is the step people skip, and it’s the one that undoes the whole ten weeks. A plant raised indoors has soft tissue, thin leaves and no experience of wind or ultraviolet. Put it straight into an open bed on a bright, breezy October day and it will scorch white or snap off at the base within hours.
So you introduce it gradually, over a week to ten days:
- Days 1–2: an hour or two outside, full shade, out of the wind. Back inside.
- Days 3–4: three or four hours, with some morning sun.
- Days 5–6: most of the day, working up to a few hours of direct sun.
- Days 7–10: all day outside, and if nights are staying above about 10°C, leave them out overnight.
Watch them rather than the calendar. A bit of purple on the undersides of leaves is just cold, and it passes. White bleached patches mean too much sun too fast, so step back a stage. And check the water twice a day once they’re outside: a small pot in wind dries out startlingly quickly, far faster than the same pot did indoors.
Skip the fertiliser in this last week. You want the plant toughening up, not pushing soft new growth.
Planting out
Wait for soil warmth, not air temperature. Tomatoes sulk in cold ground and won’t make up the lost time later. Around Melbourne that’s usually early November, and Cup weekend is the traditional marker for good reason.
When the day comes, plant deep again, water in well, and get the stake in at planting time rather than later, when you’d be driving it through the roots.
Ten weeks of shelf space, one tray at a time. Worth it in January.